The Ultimate Fudgy Brownie: Achieving the Perfect Crinkle Top
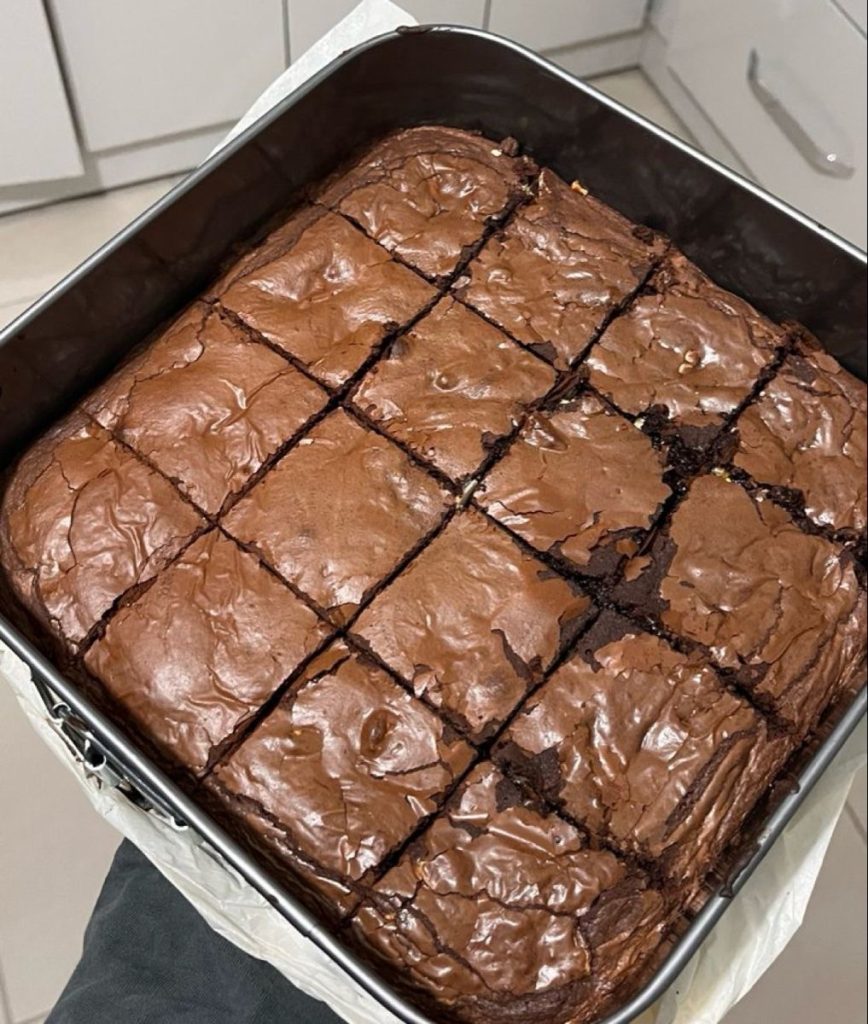
There is nothing quite like the aroma of freshly baked brownies wafting through the home. This isn’t just a dessert; it’s an experience. The perfect brownie should be a masterclass in textures: a paper-thin, crackly top that yields to a dense, fudgy center so rich it almost melts on your tongue.
Whether you are a seasoned baker or a kitchen novice, this recipe is designed to deliver a professional-grade result every single time. By focusing on high-quality cocoa, precise temperatures, and the science of aeration, we have developed a method that creates the ultimate chocolate indulgence. Forget the boxed mixes; once you taste these homemade fudgy brownies, there is no going back.
The Ingredients: Why Every Component Matters
To reach brownie perfection, we must understand the “why” behind the “what.” Each ingredient plays a specific role in creating that signature gooey texture.
- Unsalted Butter: This provides the fat base. Melting the butter helps achieve a chewier texture compared to creaming softened butter, which adds too much air.
- Granulated Sugar & Light Brown Sugar: Using a combination is key. Granulated sugar helps create that shiny crinkle top, while brown sugar adds moisture and a subtle caramel undertone.
- High-Quality Dark Chocolate: We melt real chocolate into the batter for a deep, complex flavor that cocoa powder alone cannot achieve.
- Dutch-Processed Cocoa Powder: This provides the intense “chocolatey” color and a smooth, mellow acidity that balances the sweetness.
- Large Eggs (Room Temperature): Eggs are the primary binder. Beating them well with the sugar is the secret to the meringue-like crust on top.
- Vanilla Extract: A generous splash acts as a flavor enhancer, making the chocolate taste more like… chocolate!
- All-Purpose Flour: We use a minimal amount here. Less flour equals a fudgy, truffle-like consistency, whereas more flour would result in a “cakey” brownie.
- Sea Salt: A crucial addition to balance the sugar and intensify the cacao notes.
Step-by-Step Instructions for Perfection
- Preheat and Prep: Preheat your oven to 350°F (175°C). Line an 8×8 or 9×9 inch square baking pan with parchment paper, leaving an overhang on the sides for easy removal.
- Melt the Chocolate Base: In a heat-proof bowl, combine your butter and chopped dark chocolate. Melt them together using a double boiler or in 30-second increments in the microwave. Stir until silky smooth.
- The Aeration Phase: In a separate large bowl, whisk the eggs and both sugars vigorously for 3–5 minutes. This step is non-negotiable! You want the mixture to become pale and frothy, which creates the signature crackle top.
- Combine: Slowly pour the melted chocolate mixture into the egg mixture, whisking constantly. Add the vanilla extract.
- Fold in Dry Ingredients: Sift in the cocoa powder, flour, and salt. Using a spatula, gently fold the ingredients until just combined. Over-mixing at this stage will lead to a tough, bready brownie.
- Final Flourish: Fold in your extra chocolate chunks or nuts if desired.
- Bake: Pour the batter into the prepared pan and smooth the top. Bake for 25–30 minutes.
- The Shake Test: The brownies are done when the edges are set, but the center still has a slight jiggle. Do not overbake!
Pro Tips for the Best Results
- The Sift is Secret: Always sift your cocoa powder and flour to avoid “flour pockets” in your fudgy batter.
- Don’t Cut Too Soon: As tempting as it is, let the brownies cool completely in the pan. This allows the fudge to set. For the cleanest lines, chill them in the fridge before slicing.
- Quality Over Quantity: Since chocolate is the star, use the best couverture chocolate or high-percentage cacao bar you can find.
Serving Suggestions
Elevate your dessert by serving a warm square with a scoop of Madagascar vanilla bean ice cream. For a sophisticated touch, drizzle with salted caramel sauce or a sprinkle of flaky Maldon sea salt. If you’re feeling adventurous, a side of fresh raspberries provides a tart contrast to the rich chocolate density.
Would you like me to adjust the measurements for a larger batch or provide a gluten-free alternative for this recipe?