The Ultimate Holiday Treat: Chocolate-Covered Christmas Oreo Medallions
There is something truly magical about the combination of a crunchy chocolate sandwich cookie and a thick, velvety layer of premium melting chocolate. These Holiday Oreo Medallions are more than just a snack; they are a festive centerpiece that captures the spirit of the season in every bite. Whether you are looking for the perfect addition to a Christmas dessert platter, a thoughtful homemade holiday gift, or a fun kitchen project with the family, these treats are irresistible.
Why This Recipe Works
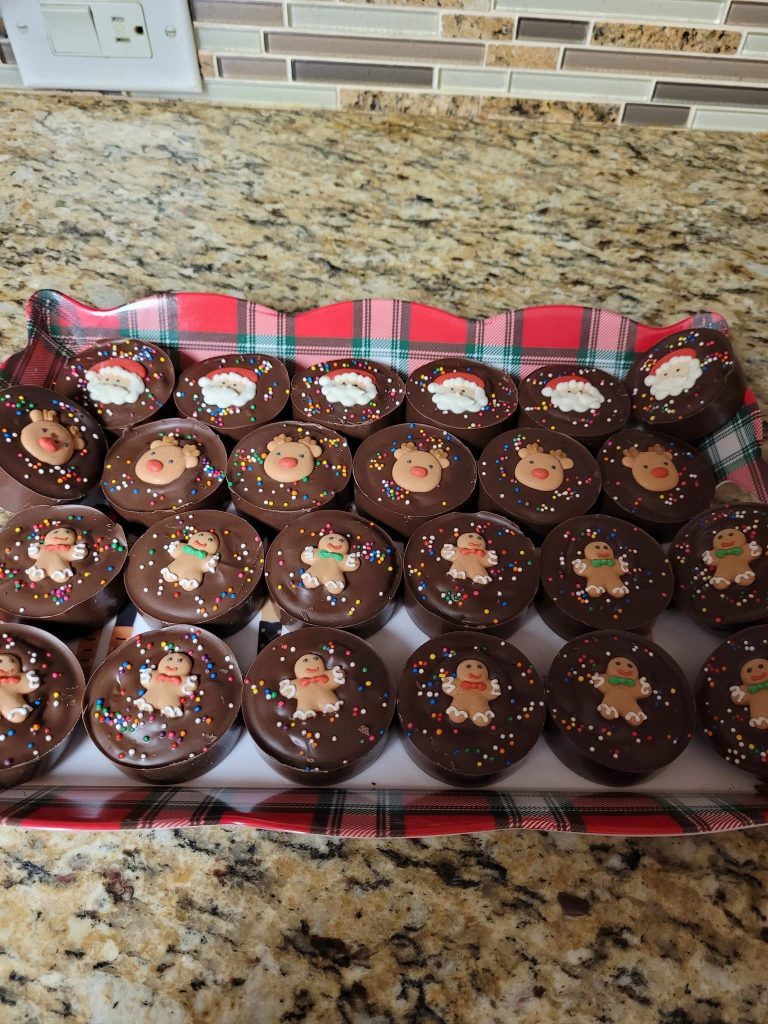
The beauty of this recipe lies in the contrast of textures—the snap of the outer shell giving way to the creamy, familiar center of an Oreo—topped with whimsical sugar decorations like Santa, reindeer, and gingerbread men. They are sophisticated enough for a holiday party yet simple enough for a beginner baker to master.
The Ingredients: Why They Matter
- Double Stuf Oreo Cookies: The “Double Stuf” variety provides a thicker base, ensuring the chocolate-to-cookie ratio is perfectly balanced. The cream filling acts as the sweet heart of the medallion.
- High-Quality Dark or Milk Chocolate Melting Wafers: Unlike standard chocolate chips, melting wafers contain a higher percentage of cocoa butter, allowing them to melt smoothly and set with a professional glossy finish without the need for tempering.
- Coconut Oil (Optional): A teaspoon of coconut oil mixed into the melted chocolate can add a beautiful lustrous sheen and help the chocolate flow more easily into the molds.
- Festive Royal Icing Decorations: These pre-made Santa, Reindeer, and Gingerbread Man toppers provide the professional “boutique bakery” look with minimal effort.
- Nonpareil Rainbow Sprinkles: These tiny beads of color add textural crunch and a pop of festive cheer, making each medallion look like a tiny, edible work of art.
Step-By-Step Instructions for Perfection
- Prepare Your Station: Ensure your silicone cylinder molds are completely dry. Even a drop of water can cause chocolate to “seize” and become grainy.
- Melt the Chocolate: Using a double boiler or a microwave-safe bowl, melt your chocolate wafers in 30-second intervals. Stir vigorously between each burst until the consistency is silky and fluid.
- The Base Layer: Pour approximately one tablespoon of melted chocolate into the bottom of each mold cavity. Tap the mold firmly on the counter to remove air bubbles.
- Insert the Cookie: Gently press one Oreo cookie into the center of each cavity. Do not push all the way to the bottom; let it “float” slightly so the bottom is fully coated.
- Seal the Medallion: Pour additional chocolate over the top and sides of the cookie until the cavity is full. Use an offset spatula to scrape away excess chocolate for a perfectly flat, clean base.
- Decorate While Warm: While the chocolate is still wet, carefully place your icing decorations in the center. Lightly dust the edges with rainbow sprinkles.
- Set and Chill: Allow the medallions to sit at room temperature for 15 minutes, then transfer to the refrigerator for 30 minutes. This ensures a clean release from the mold.
- The Reveal: Gently peel the silicone mold away from the edges and “pop” the cookies out. You will be greeted with a flawless, mirror-like finish.
Pro Tips for Professional Results
- Avoid Overheating: Chocolate is delicate. If using a microwave, stop heating when there are still a few small lumps left—the residual heat will melt them as you stir.
- Eliminate Bubbles: After filling the molds, tap them against the countertop several times. This forces trapped air to the surface, preventing unsightly pits.
- Storage Savvy: Store these in a cool, dry place in an airtight container. Avoid the fridge for long-term storage to prevent chocolate “bloom.”
Serving Suggestions
These Chocolate-Covered Oreos are incredibly versatile. Serve them alongside a steaming mug of peppermint hot cocoa or a glass of cold milk. For a sophisticated touch at a party, pair them with a dessert red wine or a festive espresso martini. They also make incredible party favors when tucked into individual cellophane bags tied with a red silk ribbon.