Baked Sweet and Sour Chicken Recipe
✨ Introduction
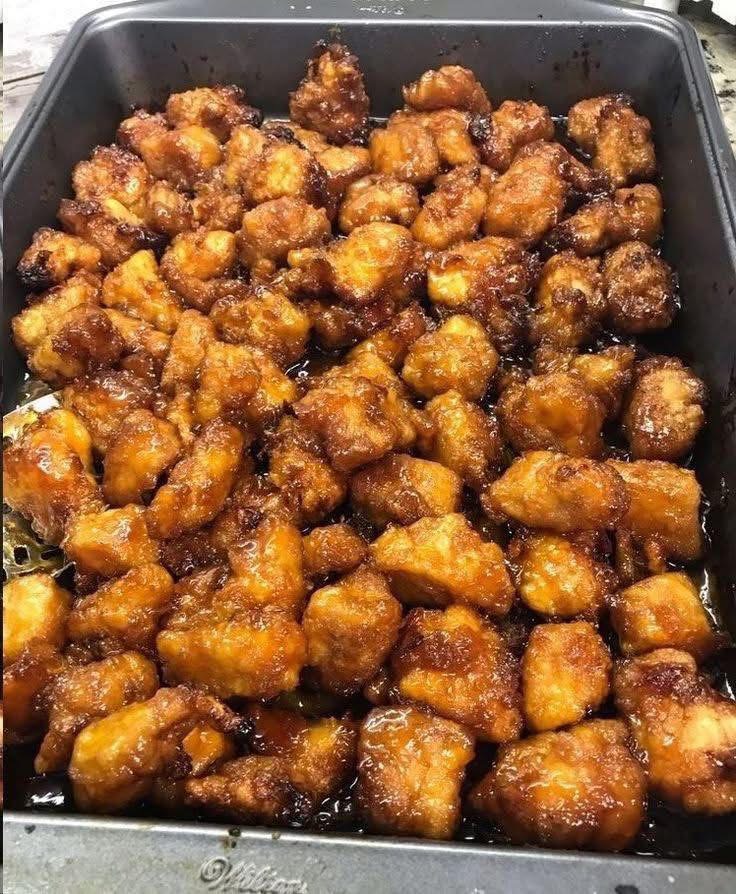
Baked Sweet and Sour Chicken is a healthier twist on the classic takeout favorite. Instead of deep-frying, the chicken is lightly coated, baked until crispy, and then tossed in a glossy, tangy-sweet sauce made with vinegar, pineapple, soy sauce, and sugar. The result? Crispy yet tender chicken pieces coated in a sticky, flavorful glaze that pairs perfectly with rice or stir-fried vegetables. It’s comfort food with balance — a little sweet, a little tangy, and a lot satisfying.
📜 History of Sweet and Sour Chicken
Sweet and sour flavors have ancient roots in Chinese cuisine, where combinations of vinegar and sugar were used to balance dishes. The specific dish “sweet and sour chicken” became popular in American-Chinese restaurants in the mid-20th century, inspired by Cantonese sweet and sour pork. Over time, chicken replaced pork for a lighter version. The baked variation arose as health-conscious cooking trends grew in the 1980s–90s, giving families a way to enjoy the flavors of takeout with less oil and fewer calories.
💎 Benefits of Baked Sweet and Sour Chicken
- Healthier than Takeout – Less oil, baked not fried.
- Easy to Make – Simple steps with pantry staples.
- Family-Friendly – Kid-approved sweet flavor balanced with tang.
- Customizable – Can add pineapple, peppers, or swap chicken with tofu.
- Balanced Meal – Protein, veggies, and sauce in one dish.
🛒 Ingredients (Serves 4–6)
For the Chicken:
- 2 lbs (900 g) boneless, skinless chicken breasts (cut into 1-inch cubes)
- 1 cup cornstarch (or flour)
- 3 large eggs (beaten)
- 3 tbsp vegetable oil (for greasing pan)
- Salt & black pepper to taste
For the Sweet and Sour Sauce:
- ¾ cup sugar (can reduce to ½ cup for less sweet)
- ½ cup apple cider vinegar (or rice vinegar)
- ¼ cup ketchup
- 2 tbsp soy sauce
- 1 tsp garlic powder
- 1 tsp cornstarch mixed with 1 tbsp water (optional, for thicker sauce)
Optional Add-ins:
- 1 cup pineapple chunks
- 1 red bell pepper, chopped
- 1 green bell pepper, chopped
- 1 onion, sliced
🍳 Instructions & Methods
Step 1: Prep the Chicken
- Preheat oven to 175°C (350°F).
- Season chicken with salt and pepper.
- Coat chicken pieces in cornstarch, then dip into beaten eggs.
- Heat a skillet with a drizzle of oil and quickly sear chicken pieces until lightly golden (not fully cooked).
Step 2: Bake the Chicken
- Transfer seared chicken to a greased baking dish.
- Spread in a single layer.
Step 3: Make the Sauce
- In a bowl, whisk together sugar, vinegar, ketchup, soy sauce, and garlic powder.
- Pour sauce evenly over chicken.
- Stir gently to coat all pieces.
Step 4: Bake Until Tender
- Bake uncovered for 45–50 minutes, stirring halfway so the chicken absorbs the sauce evenly.
- Add pineapple, peppers, and onions during the last 15 minutes for extra flavor.
Step 5: Serve
- Serve hot over steamed jasmine rice, fried rice, or noodles.
- Garnish with sesame seeds or chopped green onions.
🏗️ Formation (Serving Styles)
- Classic – Just chicken with rice.
- Restaurant Style – Add bell peppers, onions, and pineapple chunks.
- Healthy Version – Use brown rice or cauliflower rice.
- Party Platter – Serve as bite-sized appetizers with toothpicks.
- Fusion Twist – Toss with chili flakes or sriracha for a spicy kick.
❤️ Lovers of This Dish
- Families – Kids love the sweet sauce, adults love the tang.
- Health-Conscious Eaters – Baked version with less grease.
- Takeout Lovers – Same flavor as restaurant-style, homemade freshness.
- Meal Preppers – Stores well for lunches or dinners.
- Fusion Food Fans – Great base for experimenting with flavors.
🏁 Conclusion
Baked Sweet and Sour Chicken captures the iconic takeout flavors of tangy vinegar, sweet sugar, and savory soy but transforms them into a wholesome, homemade meal. With its crispy baked coating and sticky, glossy sauce, it’s a crowd-pleasing dish that brings comfort to any table. Loved by families, foodies, and health-conscious cooks alike, this dish proves that you don’t need a wok or deep fryer to enjoy authentic, delicious results — just an oven, a few ingredients, and a hungry appetite.