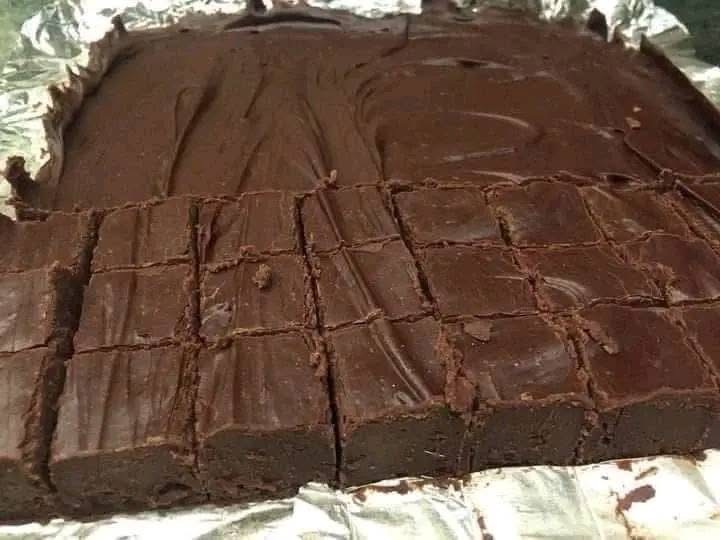
Ultra-Creamy Homemade Chocolate Fudge — An Irresistible, No-Bake Treat
Smooth, rich, and melt-in-your-mouth — this chocolate fudge is the kind of dessert that turns an ordinary day into something special. With minimal ingredients and no baking required, it’s perfect for holiday trays, gifts, or satisfying a serious chocolate craving.

Why this fudge is irresistible
This recipe hits the sweet spot between luxury and simplicity. It produces a dense yet silky texture, a deep chocolate flavor, and a glossy finish that looks professional. No thermometer, no tempering — just reliably perfect fudge every time.
Ingredients — and what each one does
- 3 cups semi-sweet chocolate chips — provide the chocolate base and the rich cocoa flavor.
- 1 can (14 oz) sweetened condensed milk — acts as the sweetener and thickening agent, giving the fudge its creamy, dense body.
- 4 tablespoons unsalted butter — adds silkiness and helps prevent graininess; it also smooths the mouthfeel.
- 1 teaspoon pure vanilla extract — brightens and rounds the chocolate flavor for a warmer, more complex taste.
- A pinch of salt — balances the sweetness and enhances the chocolate notes.
- Optional: 1/2 cup chopped walnuts, pecans, or a handful of crushed candy for texture and contrast.
Equipment
You’ll need an 8×8 inch baking pan, parchment or aluminum foil, a medium saucepan, and a heatproof spatula. No specialized candy tools required.
Step-by-step instructions
- Line the pan. Line an 8×8 pan with parchment paper or aluminum foil, leaving an overhang for easy removal.
- Combine ingredients. In a medium saucepan set over low heat, add the chocolate chips, sweetened condensed milk, and butter.
- Melt gently. Stir constantly with a spatula until the chocolate and butter are completely melted and the mixture is glossy and smooth. Keep the heat low — high heat risks burning or seizing the chocolate.
- Finish the flavor. Remove from heat, then stir in the vanilla extract and a pinch of salt. If you’re adding mix-ins, fold them in now.
- Press into the pan. Pour the mixture into the lined pan and smooth the top with an offset spatula for a professional finish.
- Chill until set. Refrigerate for at least 2 hours, or until the fudge is firm enough to cut into clean squares.
- Cut and serve. Lift the fudge from the pan using the parchment/foil overhang. Use a sharp knife (warm the blade under hot water and dry between cuts for extra-clean edges) and slice into squares.
Why this method works
This approach uses the sweetened condensed milk to achieve consistent structure without crystallization. The low, slow melting process keeps the fat and sugar integrated, producing that classic satin-smooth texture
Pro tips for perfect fudge
- Low and slow: Always melt over low heat and stir continuously to prevent scorching or graininess.
- Warm knife trick: Run a sharp knife under hot water, dry it, then slice; repeat for cleaner edges.
- Texture variations: For extra creaminess, add 1 tablespoon of light corn syrup or a tablespoon of heavy cream when melting.
- Flavor boost: Try 1/2 teaspoon instant espresso powder for a deeper chocolate note or 1/4 teaspoon almond extract for a nutty twist.
- Storage: Keep fudge in an airtight container in the fridge for up to 2 weeks. For longer life, freeze up to 3 months (thaw in fridge).
Serving suggestions
Turn these squares into a complete dessert experience:
- Serve small squares beside fresh berries (raspberries or strawberries) to cut the richness.
- Pair with a warm beverage — espresso, coffee, or hot chocolate — for an indulgent pairing.
- Include on a dessert board with nuts, cookies, and dried fruit for holiday entertaining.
- Top a square with flaky sea salt or a dusting of cocoa powder for a gourmet finish.
Quick variant ideas
Salted chocolate fudge: Sprinkle flaky sea salt on top before chilling. Mint fudge: Add 1/2 teaspoon peppermint extract and fold in crushed candy canes.